 |
| Discharge complete, here is the wet shirt. |
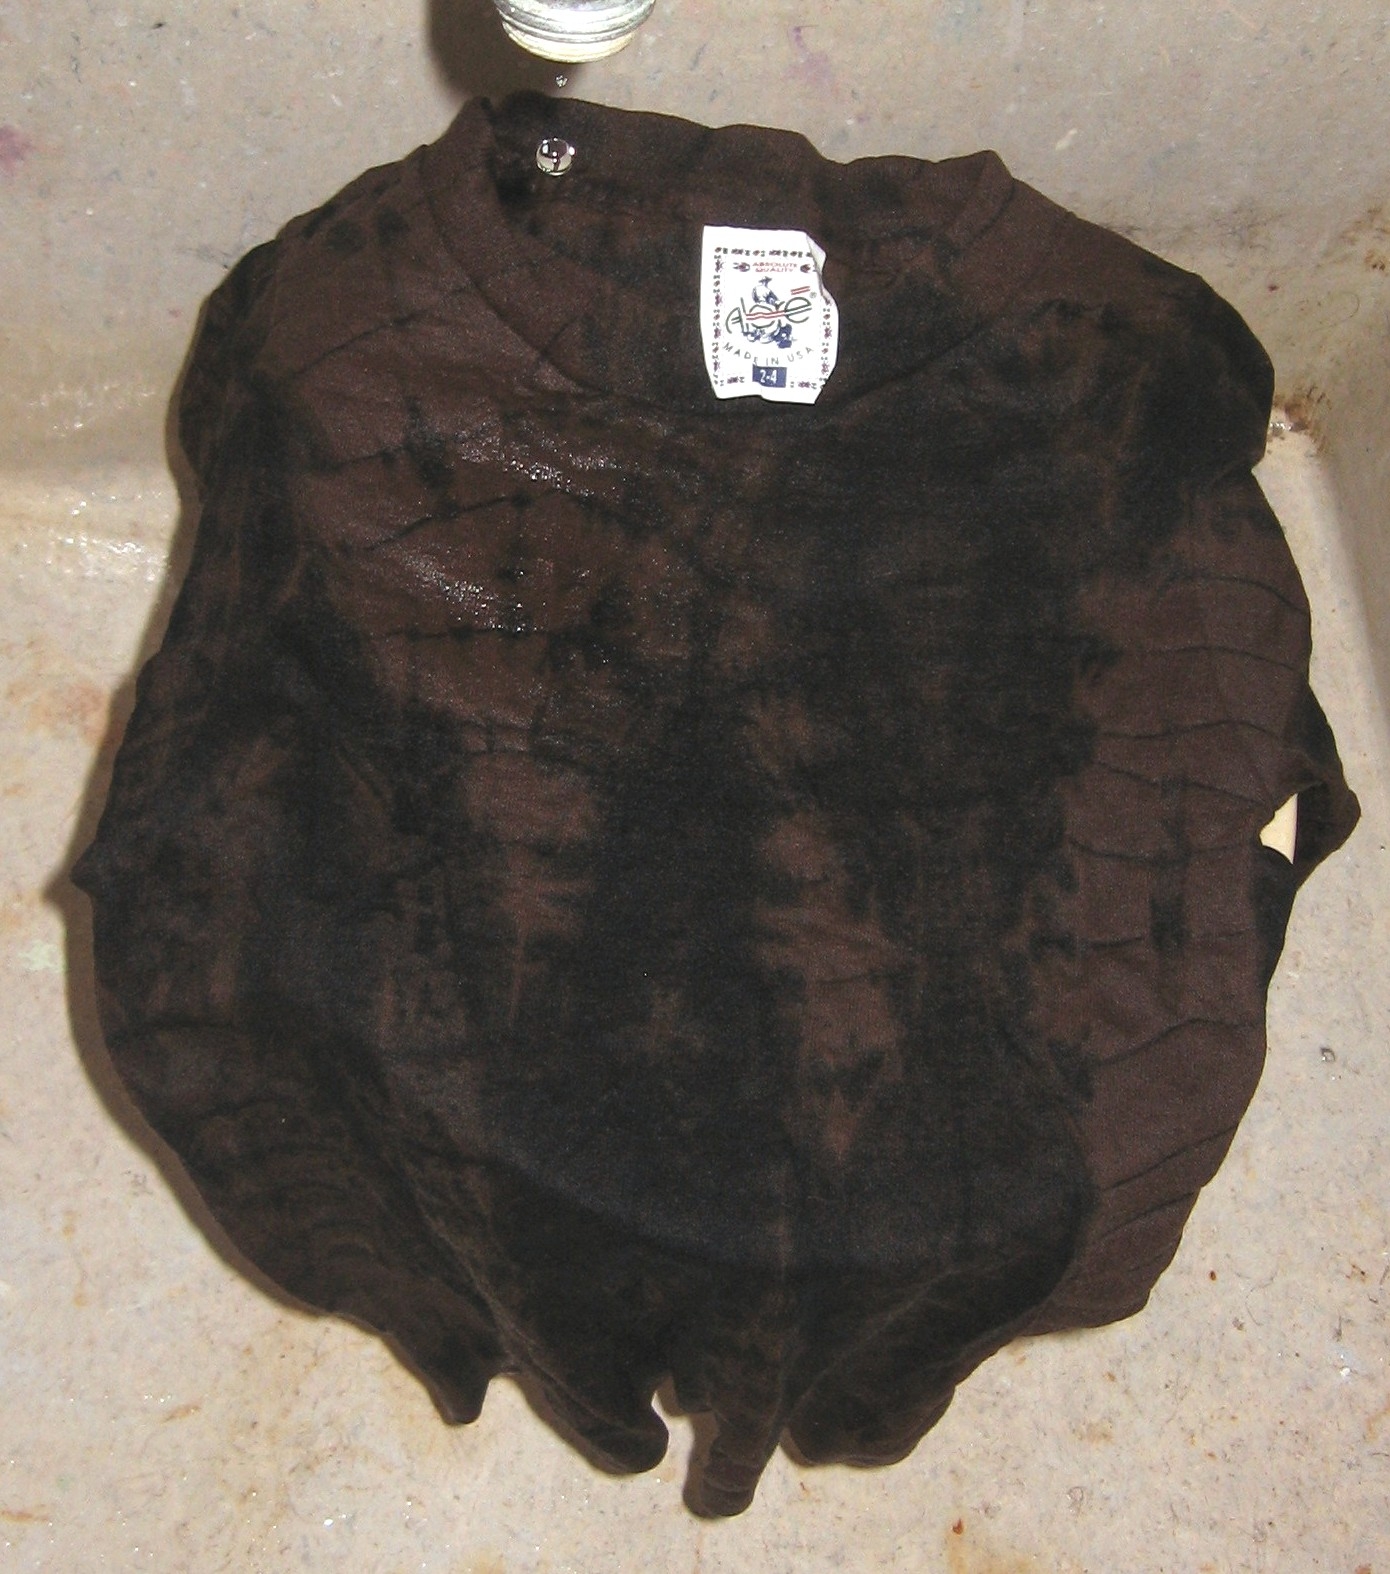
In the photo to the left, you can see the shirt that has been discharged, soaked in vinegar and untied, still wet, sitting on my bucket in the utility sink.
I immediately washed the shirt, then dried it. Here's how it came out. The navy blue design is where my tied string left the original color. The rest of the discharged shirt turned a lovely shade of brown. Love it!
I have posted two pix here of a turquoise t-shirt I had previously discharged, but using only a bleach pen. You can immediately see the difference. In the turquoise shirt, more of the original color remains. That's because I was able to apply the discharge with a bleach pen only on the tied areas of the shirt. Because the shirt was not soaked in discharge solution, only the area where the bleach was applied was discharged.
 |
| The navy shirt I began with turned a lovely shade of brown. |


Finally, I have added a picture of today's experiment: fabric paint. I received a package this week, a box of items sent to me to use in my Magic Baby Designs upcycled line. This cute black and white dress was in the box, but is a bit too faded to use as is. The stretch cotton fabric is in still in good condition, however, without pilling or damage other than fading, so I decided to paint it. I did the test on the upper bodice area, which I will not be reusing. I could, of course, overdye the entire garment, but as I said previously, I don't typically have a lot of dyes on hand. I do, however, have a large supply of various types of paints.

The reds and pinks you see on the left are several types of airbrush inks. Although I like how they look on the white portions, I did not, however, like how the paints looked on the black areas, which is where the problem was, after all. I needed something that would cover the black, darken it, and add color to the white. On the left, you see three different blues painted on. The two on the farthest left were also two different types of airbrush ink, one opaque, and one not. Again, they affected the black areas in an undesirable way. The deeper blue on the far right worked perfectly. I used an azure blue Jacquard Dyna-Flow paint, and it did the trick. I painted it onto dry fabric, but will evenly wet the fabric in the washer, spin it, and paint it damp when I finish the painting. I'll let you know how it turns out!
My email subscription just came through;) This turned out so cool looking!
ReplyDeleteI love it, too. It looks even better in person!
ReplyDeleteI love this whole process...lovely lovely lovely works. Peace, Mary Helen Fernandez Stewart
ReplyDelete