Showing posts with label Magic Baby baby clothes. Show all posts

Sunday, September 25, 2011

Discharge and Painting Experiments


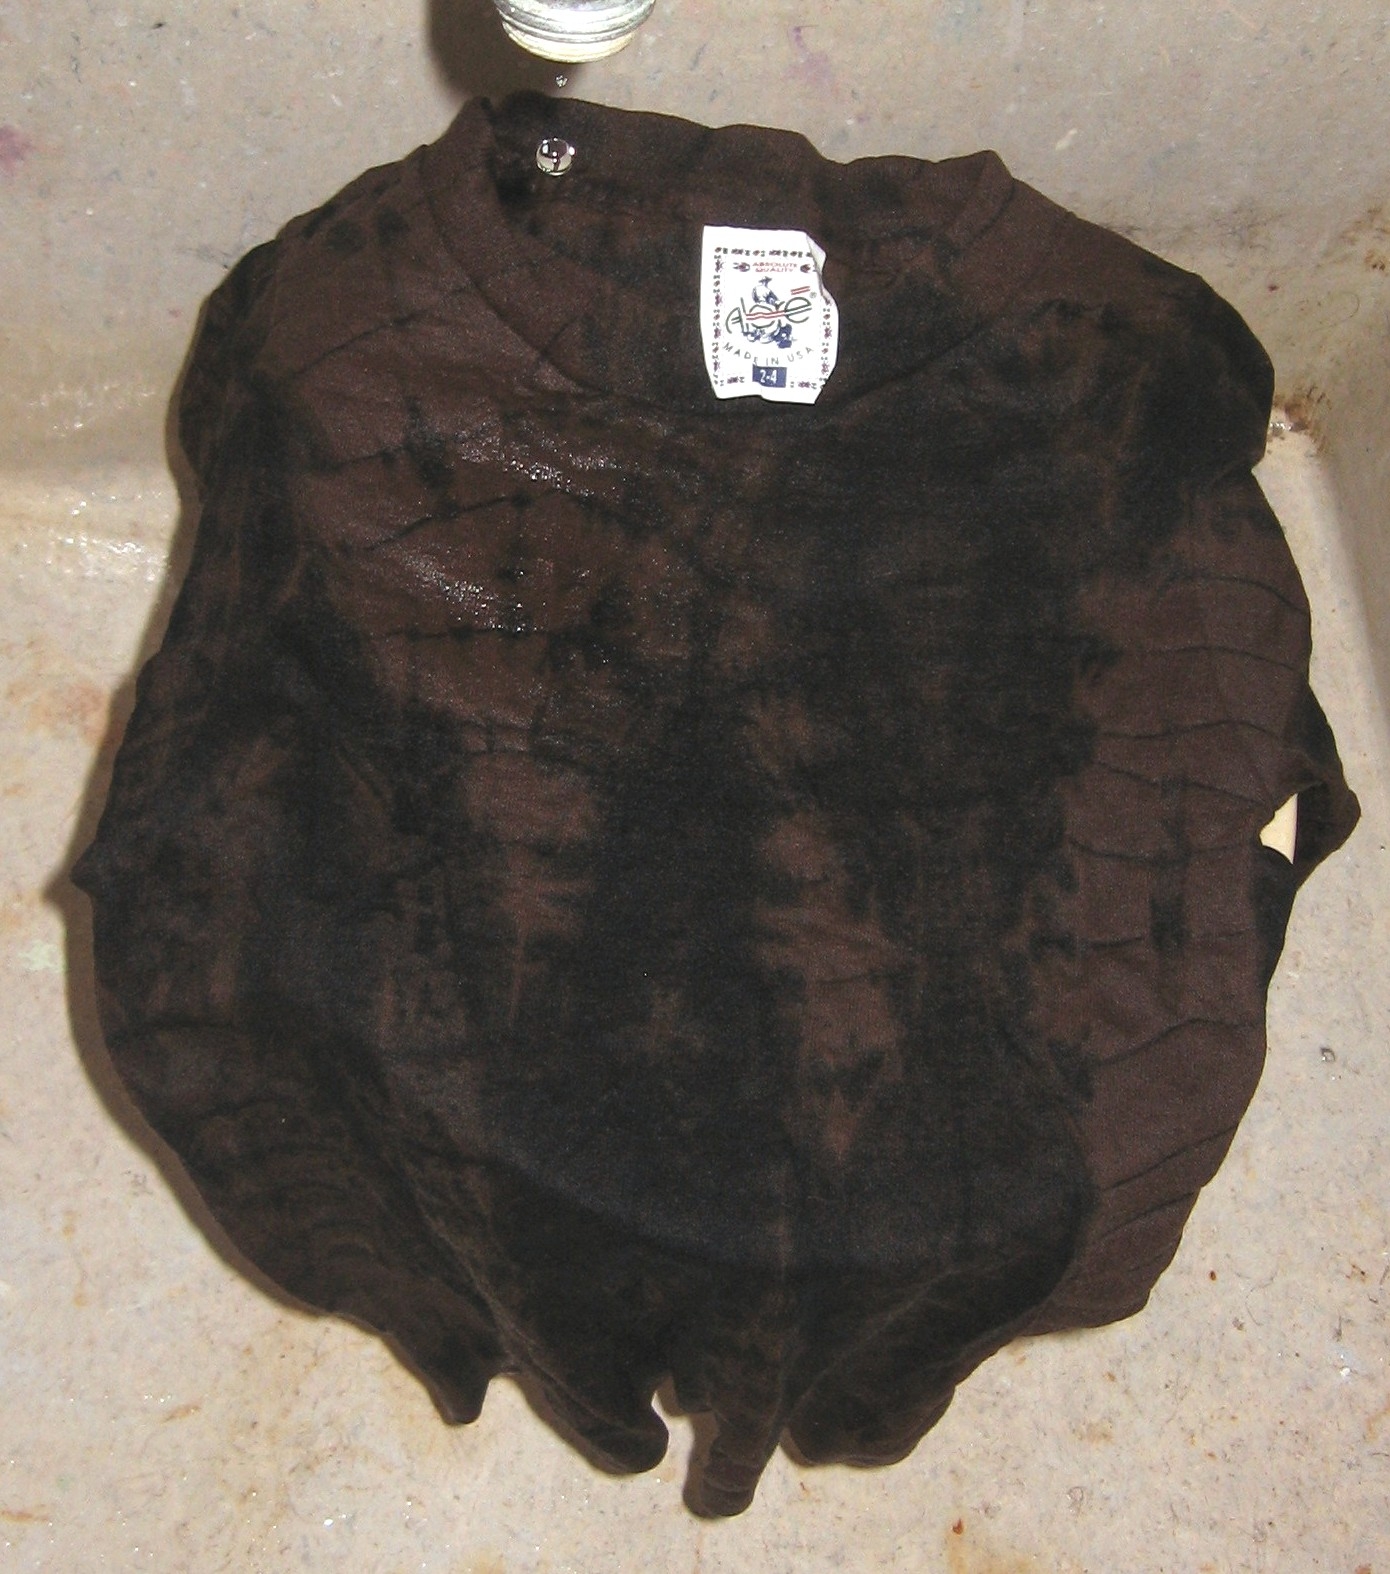
Discharge complete, here is the wet shirt.
Earlier this week, I posted a picture of a t-shirt tied and ready for discharge. I mentioned in one of my comments on that post how fun it is to discharge fabric and purchased shirts, because you never know that color they will become once the discharge is complete.

In the photo to the left, you can see the shirt that has been discharged, soaked in vinegar and untied, still wet, sitting on my bucket in the utility sink.

I immediately washed the shirt, then dried it. Here's how it came out. The navy blue design is where my tied string left the original color. The rest of the discharged shirt turned a lovely shade of brown. Love it!

I have posted two pix here of a turquoise t-shirt I had previously discharged, but using only a bleach pen. You can immediately see the difference. In the turquoise shirt, more of the original color remains. That's because I was able to apply the discharge with a bleach pen only on the tied areas of the shirt. Because the shirt was not soaked in discharge solution, only the area where the bleach was applied was discharged.

The navy shirt I began with turned a lovely shade of brown.


Finally, I have added a picture of today's experiment: fabric paint. I received a package this week, a box of items sent to me to use in my Magic Baby Designs upcycled line. This cute black and white dress was in the box, but is a bit too faded to use as is. The stretch cotton fabric is in still in good condition, however, without pilling or damage other than fading, so I decided to paint it. I did the test on the upper bodice area, which I will not be reusing. I could, of course, overdye the entire garment, but as I said previously, I don't typically have a lot of dyes on hand. I do, however, have a large supply of various types of paints.


The reds and pinks you see on the left are several types of airbrush inks. Although I like how they look on the white portions, I did not, however, like how the paints looked on the black areas, which is where the problem was, after all. I needed something that would cover the black, darken it, and add color to the white. On the left, you see three different blues painted on. The two on the farthest left were also two different types of airbrush ink, one opaque, and one not. Again, they affected the black areas in an undesirable way. The deeper blue on the far right worked perfectly. I used an azure blue Jacquard Dyna-Flow paint, and it did the trick. I painted it onto dry fabric, but will evenly wet the fabric in the washer, spin it, and paint it damp when I finish the painting. I'll let you know how it turns out!

Sunday, August 21, 2011

Preparing for a Show

Next week, I am dropping off some work for a wearable art exhibition, Art Strikes a Post, at Valley Art Center in Chagrin Falls. In addition to the Magic Baby Design clothing I will be exhibiting, I have been working on a few other things. Since I remembered to take pictures of this upcycled denim jacket as I went along, I'll show you the stages of development in the piece I am called Rules for Happiness jacket. Enjoy!

I started with a denim jacket with a strange cut: a cropped body shape and elbow length sleeves.
Next, I added my Rules all over the jacket using textile ink and stamps.


I added appliques and buttons, but to make the shape of the jacket really work, I added lined sleeves with roll up cuffs and a lush, purple velvet skirt. Now the proportions are just right.


I used the same fabric accent for the center back as I used for the outer sleeve additions. Think Outside the Lines, embroidered on netting, finishes off the back.


Saturday, October 30, 2010

Making Buttons: A Tutorial

In one of my September posts, I promised you a tutorial to show you how I made the matching buttons for the outfit shown there. After over a week of trying to upload the tutorial here without success, I invite you to view Making Buttons: A Tutorial on youtube.

I have added a few new pictures here of outfits I have added handmade buttons to, and will post some more later when blogger decides to cooperate. Please scroll down to see the new pictures, and please leave me a post if you try making these buttons for yourself. Enjoy.

Finally, special thanks to my darling husband for taking the time to film this for me and upload it to youtube.  film this. Thanks, baby!

A close up of the challis fabric buttons I made to match my Magic Baby Peaches and Cream top.

The buttons for my Dot Coat are made in matching fleece.

Can you see the matching button on this Lucky Star jacket? This is what I like about making buttons!

Look forward to your comments,
Gayle

Friday, May 8, 2009

Unexpected Pleasures


Green Bear is never far away

I only have time for a quick post right now. That's because we had a Green Bear emergency today. My grandson awoke to find that Green Bear's tag had come completely off, and his beans were leaking.

When he first became attached to his bear, my husband had the brilliant idea of purchasing identical ones as back-ups. It was a good plan, as we are now onto bear #4. Number one's tag is completely gone and he is beyond repairing. This morning's emergency was #3. He can still be repaired, and is probably good for one more round.

I had planned to work in my studio all day today, but the "emergency" took precendence. For many artists, one of the most difficult struggles we face is the balancing act between studio, home, family and obligations. Entire days can go awry when our best-laid plans are interrupted. For me, though, family comes first whenever possible. When my grandson needed an emergency green bear repair, everything was dropped to make it happen.

Today I am making plans for a trip out of town next week to visit my new grandbaby. I am trying to finish up loose ends in the studio, pack, find some portable work to bring with me, while squeezing in time for a salon visit and errands. I did accomplish two things this morning. I finished the new baby's "birth outfit", simultaneously creating a prototype for my line of Magic Baby baby clothes.

This outfit was made from the clothes my daughter wore in labor. Our new little grandbaby was born on the biggest full moon in sixty years, so it seemed an appropriate symbol. The skirt has an elasticized top edge, and is open in the back. I decided to design it to hang free, instead of stitching it to the onesie. This way, the onesie can be worn with other clothes, and the button on the back of the skirt can be moved to grow as the baby grows.

As my grandson watched me sew today, he said to me, "Grandma, you make the coolest things." He's four. How can your heart not melt at that? I try to make things with him all the time, and we talk about "using our imagination" when we are creating things, especially when we are improvising. Whether any of my grandchildren become artists or not, I hope they will learn from their granny to stay in touch with the creative parts inside of them.