Sunday, June 24, 2012

Love Voodoo

One of my artworks from the exhibition In Their Own Right, Love Voodoo, sold at the opening.
Love Voodoo by Gayle Pritchard, on exhibit at In Their Own Right
As requested, here are some more detailed images of the artwork.


Stop by to see the exhibit, which is on view until July 28th. Summer gallery hours are Monday, Wednesday and Friday, 1 - 4 p.m. Hope to see you there!

Sunday, June 17, 2012

A Unique Exhibition


In Their Own Right, opening night. Several of my artworks are in the background.
Last night was the opening of a  summer exhibition at The Beth K. Stocker Art Center. This fiber exhibition, In Their Own Right, presents the work of the four women who have curated The Artist as Quiltmaker exhibition: Ricky Clark, (the founder), Sue Copeland Jones, Ruta Butkus Marino, (the currt curator), and me, Gayle Pritchard.


Sue Copeland Jones, Ruta Butkus Marino and Gayle Pritchard at the
opening of In Their Own Right. My work is in the background on either side
one of Ruta's pieces, the lovely blue composition in the center.

The exhibit presents a wide range of styles, and includes artwork created over a period of twenty years or more. Surprisingly, the broad range of work fits together fabulously, creating a resoundingly beautiful visual experience. Though not intended to be a retrospective, I will tell you from an artist's perspective, it is really fun to be able to show work from various stages of your career. It allows the viewer to get to know you a bit better, and to see your work in a new context. Luckily, I was able to borrow some of my artwork from the owners to include in the show.

On loan from the owner, this piece is Masks II: The Joybringer. It was fun to
see it again, and to be able to hang it for In Their Own Right. On the pedestal
to the left is my assemblage, Love Voodoo, which sold at the opening.
Ricky's Amish-style house quilt is in the background.

All the artwork fits together so beautifully, as here: Sue's work at far left and right
(far right is April Harvest beside Tuesday Dreamings), and Ruta's amusing
piece, Birth of Bob, on the left
Ruta's work, Grandifloragargantua, greets visitors to the gallery.
If you're visiting the North Coast this summer, please stop by In Their Own Right, The Artist as Quiltmaker XV, or any of the other many related exhibits and events. For all details, please click on this QuiltConnection link.

Wednesday, November 30, 2011

Thinking About the Fam


Granddaddy, an ancestor book
This time of year often brings memories and family issues to the forefront. For me, I can't get through a Thanksgiving without thinking of my own father, who passed away suddenly 20 years ago on the Friday after Thanksgiving. I will never forget the last conversation I had with him the evening before he died.

Last year at this time, I got word that an artist friend of mine had lost her daughter quite suddenly following a seizure. In December my daughter-in-law's mother died after two years of fighting cancer in various forms. In the Spring, my favorite Aunt died. She was elderly, but had remained vibrant until the very end. This past August, my brother died very suddenly, a week after being diagnosed with cancer. We never found out exactly what kind it was; it didn't matter, since there was nothing they could do.

Such news is always shocking and sad, and reinforces for me how important it is to live each day, express my love to those I love, and make the day count for something. Life is too fragile to do otherwise.

Traveler
I have made a lot of artwork over the years around these issues, some of which I have posted on this blog. Making art, at least for me, is the only way I have found to face these losses, to begin to find meaning in my soul. 

Monday, November 21, 2011

Journal Workshop


Gayle's Tri-fold journal
Anyone who knows me also knows how much I love journals. I have been making and keeping journals for most of my adult life. I love this compact tri-fold journal, because it's so beautiful, and is small enough to bring anywhere.

I had a fun group of women this past weekend in my Tri-fold Journal workshop. They did meticulous work, and we all had a lot of fun, chatting away while we worked.


Stitching the journal covers together

Arrange and affix the finishing squares for the edges
Bind the paper signatures in place


and voila! a beautiful journal


Thanks, guys. Had a really fun time with you guys!

Thursday, September 29, 2011

Upcycling with Paint: New Fabric

As I mentioned in my last post, I was experimenting with various paints from my stash to re-do some fabric that was slightly faded.
The fabric is a stretch cotton, so it took the paint a bit differently than, say, silk or plain cotton.

Since I want to use the remaining skirt and spaghetti strap ties that I cut off this dress, I upcycled the fabric with a watercolor effect. I dampened the fabric in my washer, then placed one of my painting boards underneath the circle of the skirt. Then, I simply painted away, adding my Jacquard Dyna-Flow blue paint directly from the jar to the black areas, which darkened them up nicely, and wetting my brush a bit to spread the paint in the formerly white areas.  I love how it came out, and can't wait to create an upcycled piece with it!

A final note: Mary Helen, I have been trying for days to leave a reply to your comment, and have been unsuccessful. Blogger must be having some issues if I can't even comment on my own blog! Anyway, thanks for taking the time to have a look.

Sunday, September 25, 2011

Discharge and Painting Experiments


Discharge complete, here is the wet shirt.
Earlier this week, I posted a picture of a t-shirt tied and ready for discharge. I mentioned in one of my comments on that post how fun it is to discharge fabric and purchased shirts, because you never know that color they will become once the discharge is complete.

In the photo to the left, you can see the shirt that has been discharged, soaked in vinegar and untied, still wet, sitting on my bucket in the utility sink.

I immediately washed the shirt, then dried it. Here's how it came out. The navy blue design is where my tied string left the original color. The rest of the discharged shirt turned a lovely shade of brown. Love it!

I have posted two pix here of a turquoise t-shirt I had previously discharged, but using only a bleach pen. You can immediately see the difference. In the turquoise shirt, more of the original color remains. That's because I was able to apply the discharge with a bleach pen only on the tied areas of the shirt. Because the shirt was not soaked in discharge solution, only the area where the bleach was applied was discharged.

The navy shirt I began with turned a lovely shade of brown.


Finally, I have added a picture of today's experiment: fabric paint. I received a package this week, a box of items sent to me to use in my Magic Baby Designs upcycled line. This cute black and white dress was in the box, but is a bit too faded to use as is. The stretch cotton fabric is in still in good condition, however, without pilling or damage other than fading, so I decided to paint it. I did the test on the upper bodice area, which I will not be reusing. I could, of course, overdye the entire garment, but as I said previously, I don't typically have a lot of dyes on hand. I do, however, have a large supply of various types of paints.


The reds and pinks you see on the left are several types of airbrush inks. Although I like how they look on the white portions, I did not, however, like how the paints looked on the black areas, which is where the problem was, after all. I needed something that would cover the black, darken it, and add color to the white. On the left, you see three different blues painted on. The two on the farthest left were also two different types of airbrush ink, one opaque, and one not. Again, they affected the black areas in an undesirable way. The deeper blue on the far right worked perfectly. I used an azure blue Jacquard Dyna-Flow paint, and it did the trick. I painted it onto dry fabric, but will evenly wet the fabric in the washer, spin it, and paint it damp when I finish the painting. I'll let you know how it turns out!

Thursday, September 22, 2011

Ready to Discharge


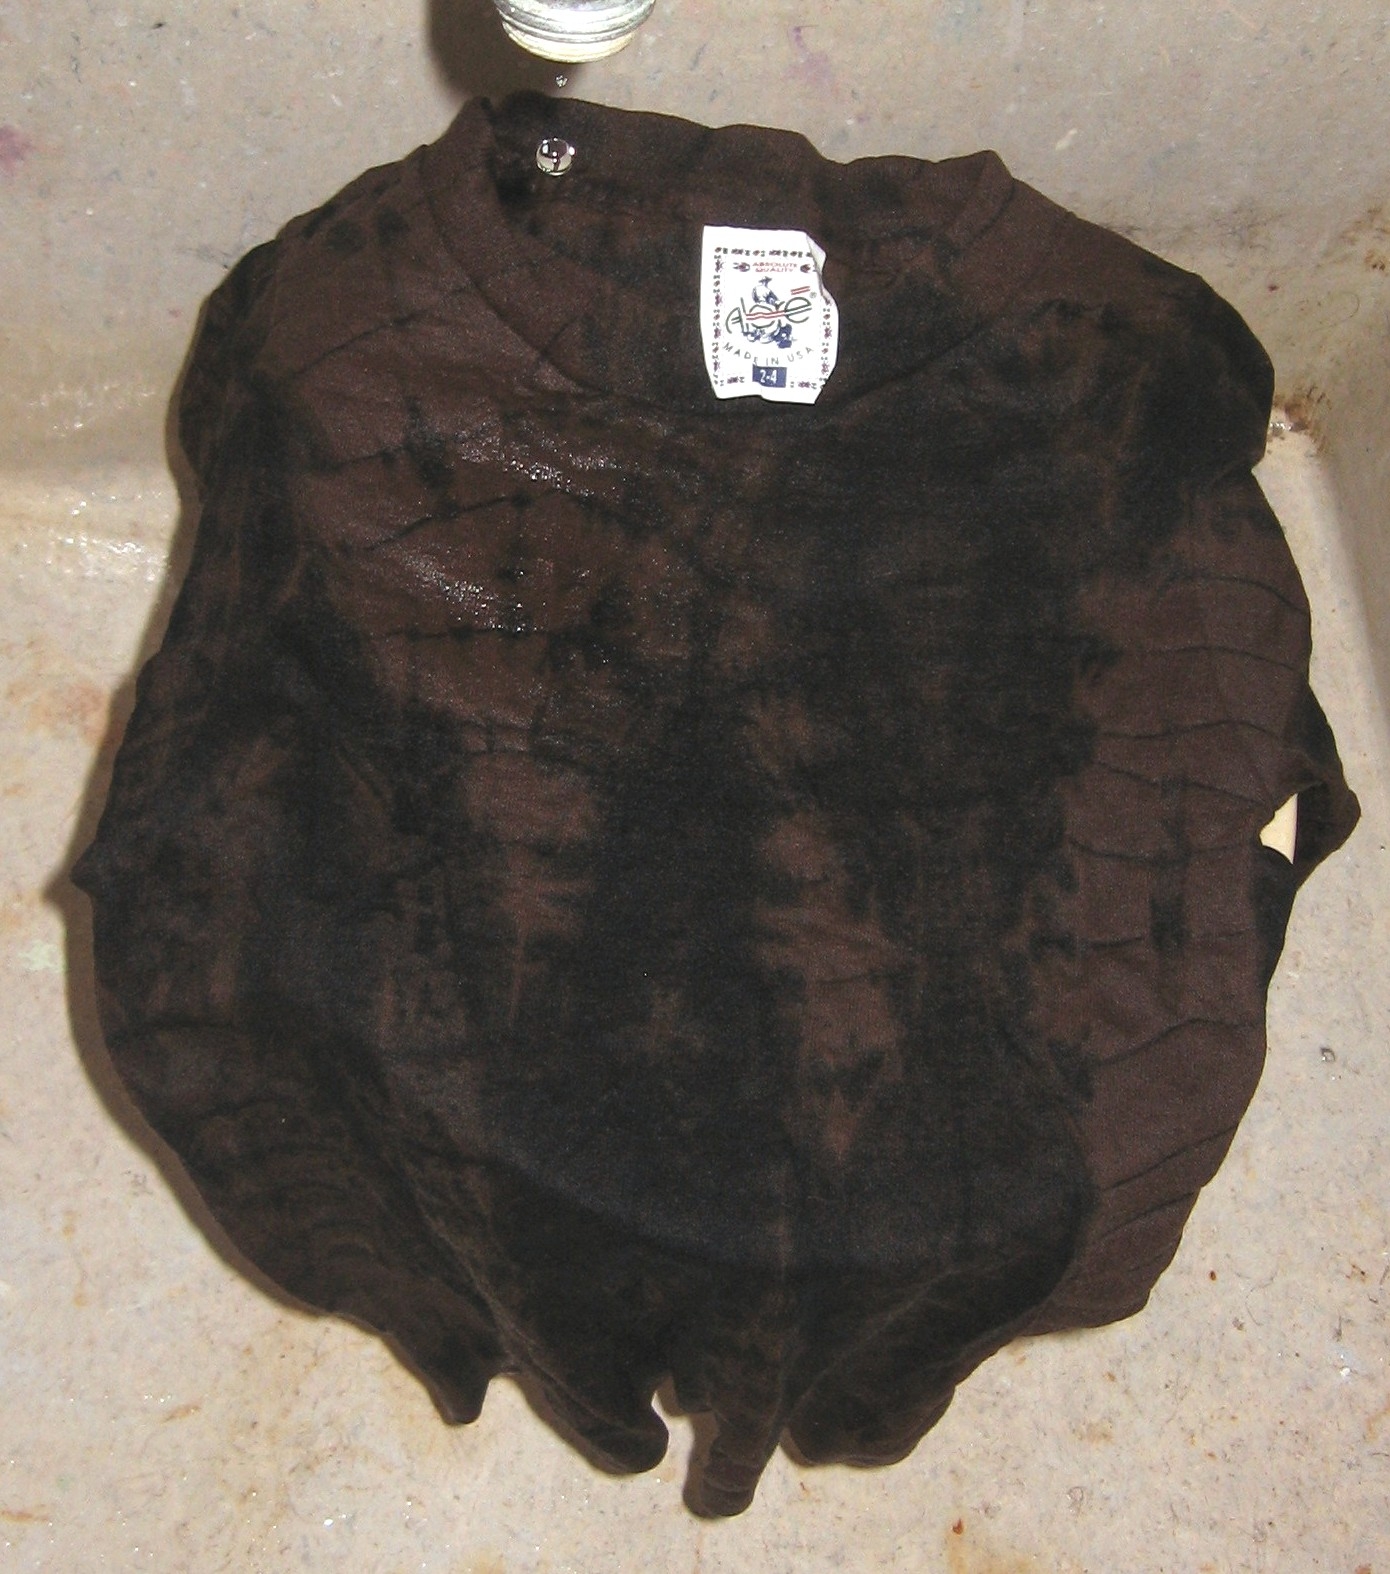
Yesterday, I had a minute, and took a shirt I had been planning to play with and tied it up. I don't keep on hand a lot of dyeing materials, so I tend to prefer discharge techniques. This shirt is ready to go! I accordian pleated it side to side, then tied it tightly with string. Next stop: the bleach bucket!

Easy bleach dip discharge recipe:
There are many ways nowadays to discharge, but this method is easy, inexpensive, and utilizes what I always have on hand.

1) In your laundry area, prepare two large buckets or trays (such as the ones used for kitty litter); use a try if you want to lay your fabric flat. Your buckets or trays should be used for this purpose only, for safety reasons. You will also need an old wooden spoon and an old pair of tongs.
2) In one bucket: 1 part household bleach to 4 parts water. Use as much water as you will need to cover your fabric, then stir the bleach in carefully. I use an old wooden spoon for stirring, and do not use it for any other purpose.
3) In the other bucket: 1 part vinegar to 1 part water; your fabric will be wet when it goes in here, so you won't need as much water as you used for the first bucket.

Ready? You can wet your fabric before (or after) tying it for discharge, or you can use it dry for a slightly crisper result. When you are ready to go, place your fabric in the bleach solution and press it down into the bucket or tray with your old wooden spoon. Let the bleach work for maybe two
minutes. It doesn't take long. I then pour the whole concoction down the utility drain flushing with hot water. Avoid splashes.

Using the tongs, immediately place the rinsed fabric and place it in the second (vinegar) bucket. Soak for 5 or 10 minutes, then wash thoroughly.

You can also use bleach in a spray bottle, which you can mist directly onto your tied fabric, or around stencils placed on flat fabric. Use 1 part bleach to 1 part water for bottle spraying, and work outside to avoid breathing the spray mist, and to avoid spraying bleach all over the place. Rinse the same way to finish.

I'll post a picture later, when I have finished. Talk to you then!